The purpose of any heating is to maintain the temperature of the room, where a person feels comfortable, with as little cost and as much comfort as possible, but these requirements are met only by electric underfloor heating. Only electric underfloor heating allows even heating of the room, does not create noise or forced air movement, consumes less energy to achieve comfortable heat, converts almost 100% of energy consumed into heat, has low investment costs, no maintenance costs, easy for operate, allows precise regulating the temperature and ultimately the comfort provided by staying on a warm floor has no alternative.
The comfort zone, ie the temperature range in which a person feels comfortable, is between 19 and 23 °C and must not deviate significantly from the average temperature of the walls, floor and ceiling, which surround the heated room. The feeling of comfort is also influenced by the appropriate humidity and air flow, which should be in the range of 0.1 to 0.4 m/s. Also, the temperature difference between the legs and the head should not be higher than 8 °C. All these conditions are met only by underfloor heating.
In underfloor heating, most of the heat is transferred by radiation, which provides a feeling of comfort at lower air temperatures, and as a result reduces heating costs (2 °C lower air temperature results in up to 14% lower heating costs). In addition, underfloor heating has an almost ideal temperature profile along the vertical of the room and does not cause excessive air flow and raising dust.

The recommended floor temperature on which peoples stay permanently is 26-27 °C (maximum 29 °C), in order to avoid the feeling of “inflammation” of the legs and the appearance of dilation of blood vessels. In rooms for casual living (bathrooms, hallways), as well as areas near windows, the floor temperature can be higher than 30 °C (eg bathrooms 35-37 °C).

When to opt for underfloor electric heating?
The decision to use electric underfloor heating as a heat source is made at the time of planning the construction or significant reconstruction of an existing facility. Such a decision must be made on the basis of meeting the following preconditions:
- readiness to perform a more complex and expensive floor structure
- construction or reconstruction of a building whose heat losses do not exceed 90 W/m² of floor area
- available sufficient power of electricity
These are requirements when electric underfloor heating is the only source of heat, if it is additional heating or is realized only in certain rooms (bathroom, toilet, kitchen), then some of these conditions do not have to be crucial because comfort is important. However, regardless of the scope of installation of electric underfloor heating, good thermal insulation of all building elements, especially the floor, is required. Therefore, you should use quality thermal insulation (thickness from 20 to 100 mm) such as polyurethane foam, hard polystyrene, hard pressed stone wool, wood, cork, etc. The final layer of the floor is best made of thermally well-conducting materials such as stone and ceramic tiles, linoleum and laminate flooring are slightly worse, and classic parquets and carpets are even worse.
What is the required unit power of electric underfloor heating?
The answer to this question is not unambiguous, unless for a specific building, at a specific location, a calculation of heat losses of all premises. Since this is a case characteristic only for newly designed buildings, others should respect their geographical location, quality of construction (especially thermal insulation and carpentry), the way the building is used, the available electricity, the method of installation and management of electric underfloor heating and user expectations...
Therefore, the unit power of underfloor heating (W/m²) is determined by heat losses and type of heating (primary or secondary heating), but also available power, desired heating rate, thickness of the accumulation layer, etc… In addition, the maximum heat load of the floor (W/m²) is determined by the maximum allowable floor temperature (eg 35 °C) and the heat transfer coefficient (eg 11 W/m²K) and does not exceed 165 W/m². Therefore, 80-100 W/m² of additional floor heating is installed, and 120-160 W/m² of basic floor heating. If the heat losses of the heated space are higher than that (eg for the coldest winter days), it is necessary to use additional heat sources (eg heating cables built into the wall under the windows, fireplaces, heaters, storage heaters, etc.).
Accumulation or direct underfloor heating?
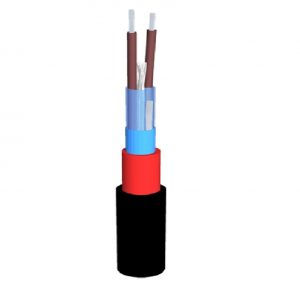
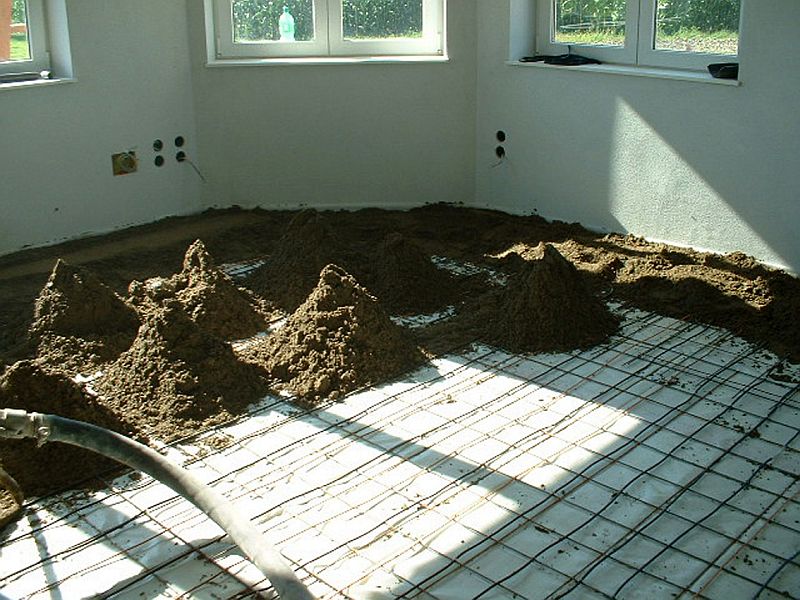
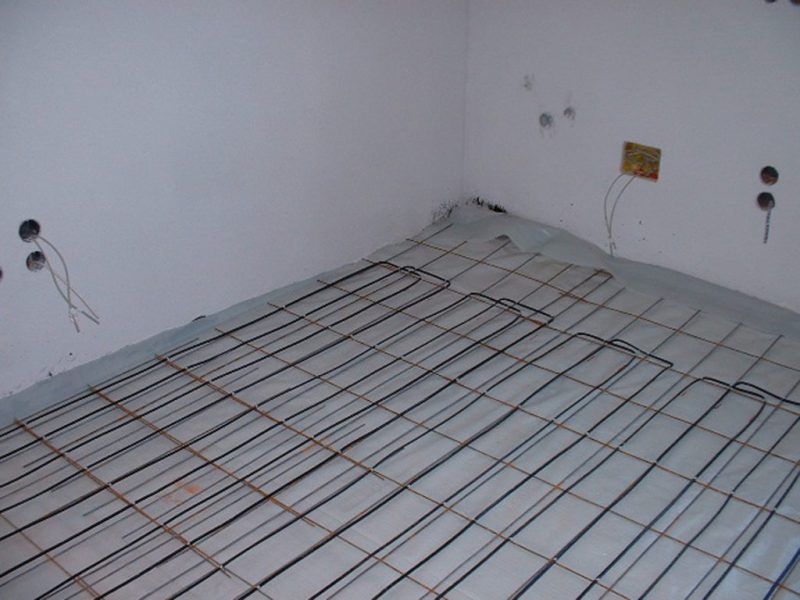
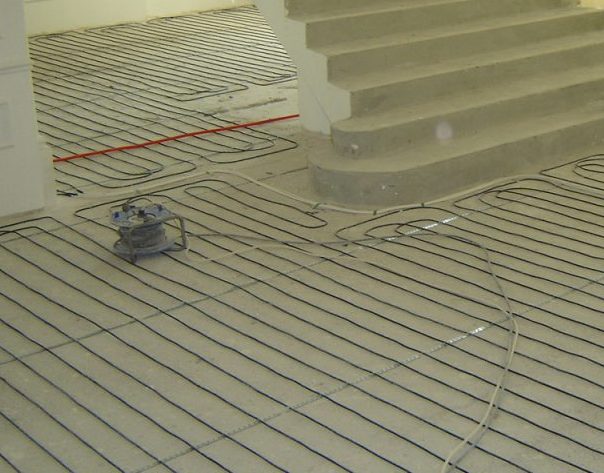
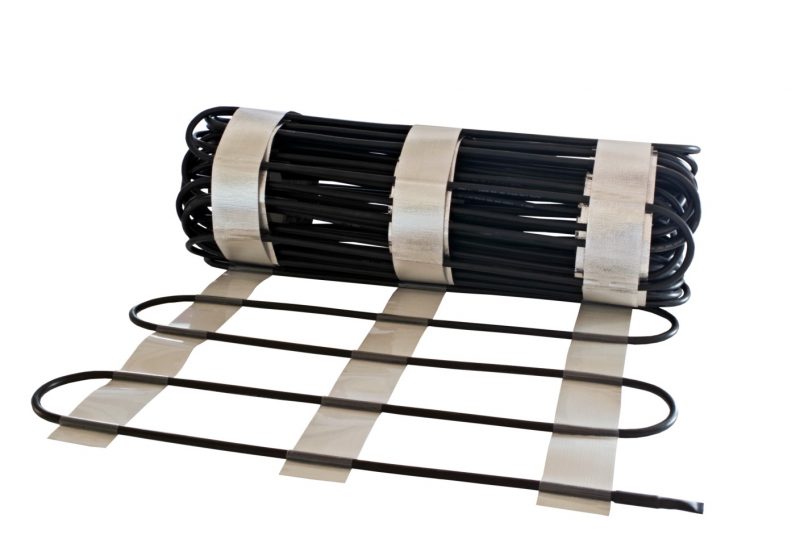
Accumulation underfloor heating is created by installing classic resistive wire heating cables (eg type SSAP or SSAPP) or self regulating heating cables (SRF 40) in a cement screed with a thickness of 5 or more centimeters. In this way they can accumulate heat energy at night when electricity is cheaper. These are sluggish systems whose warm-up time, depending on the built-in power, the thickness of the floor accumulation layer, the heat loss of the building and the initial floor temperature, ranges from 5 hours onwards. They are installed in the early phase of finishing works, mainly by tying the heating cables to the reinforcing mesh or laying the finished heating traces, above the thermal insulation of the floor, before making the cement screed of the floor. Since the heaters remain installed in a relatively thick layer of screed, they are well protected, and thus long-lasting, so they represent our recommendation for the realization of electric floor heating whenever the space in the floor and the current construction phase allow.

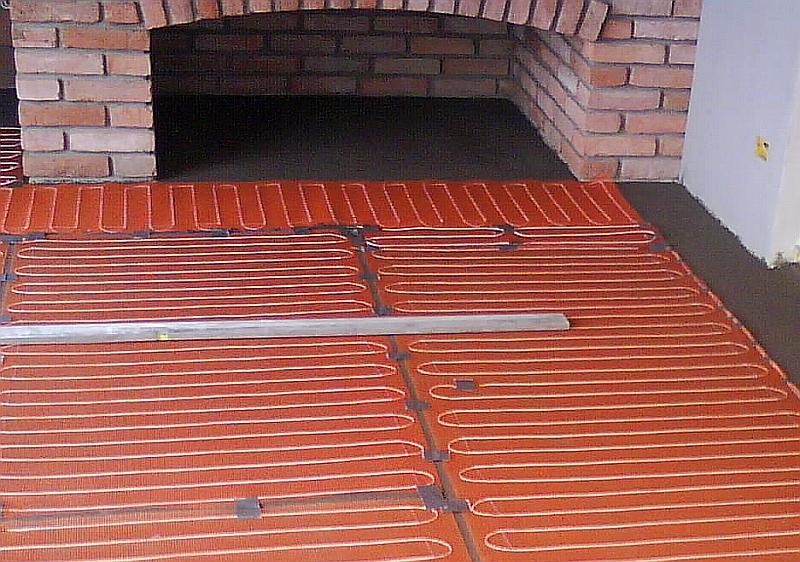
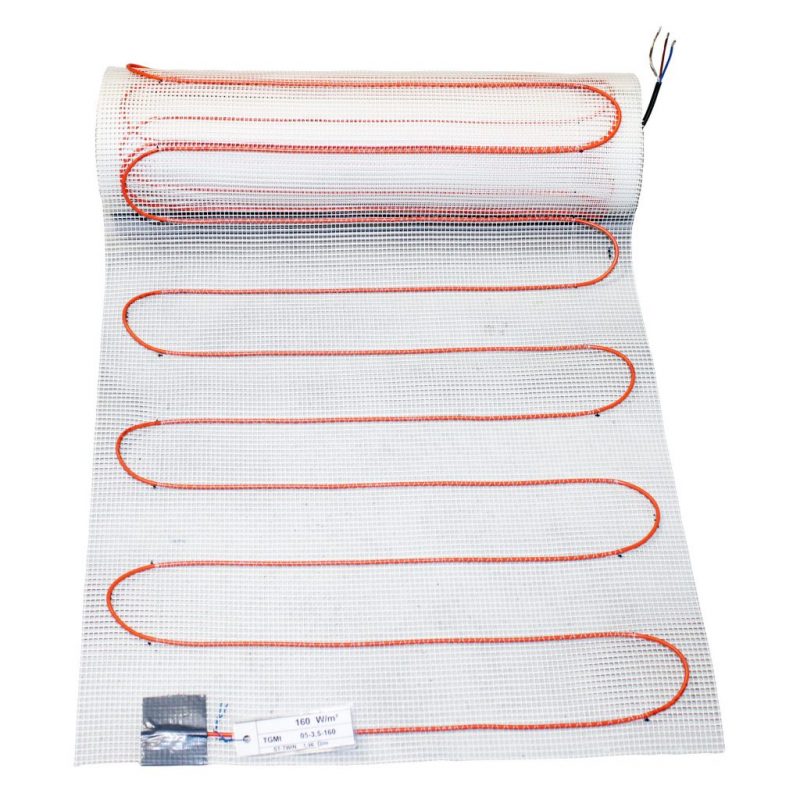
Direct underfloor heating is created by installing thin heating mats (eg type TGMt) in a flexible construction adhesive or self-leveling compound. The heating mats are located near the final layer of the floor, they heat up relatively quickly, but they must also work during the day when the electricity is more expensive. Although these are much faster systems their heating time is rarely less than 2 hours and mostly depends on the built-in heating power, the thickness of the thermal insulation of the floor and screed, the thermal losses of the building and the initial floor temperature. Thin heating mats are placed just before gluing ceramic tiles or stone on already made cement screed or on old tiles. In this way, they enable the installation of electric floor heating in the event of a subsequent or delayed decision on its implementation in a new building or in the renovation of an old building. If care is taken during the installation of heating mats, and mechanical damage is avoided during subsequent work, the durability of thin heating mats does not lag behind the heating cables built into the cement screed.

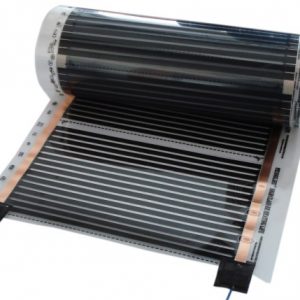
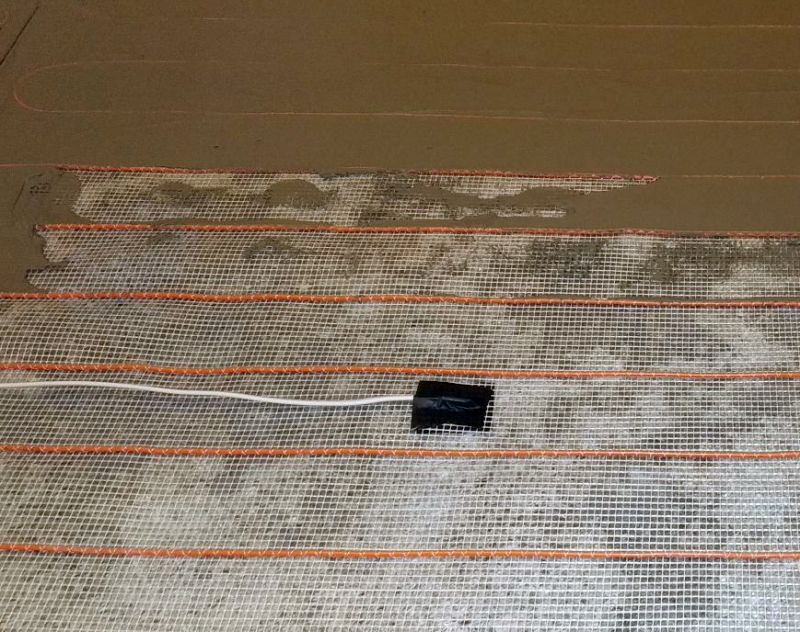
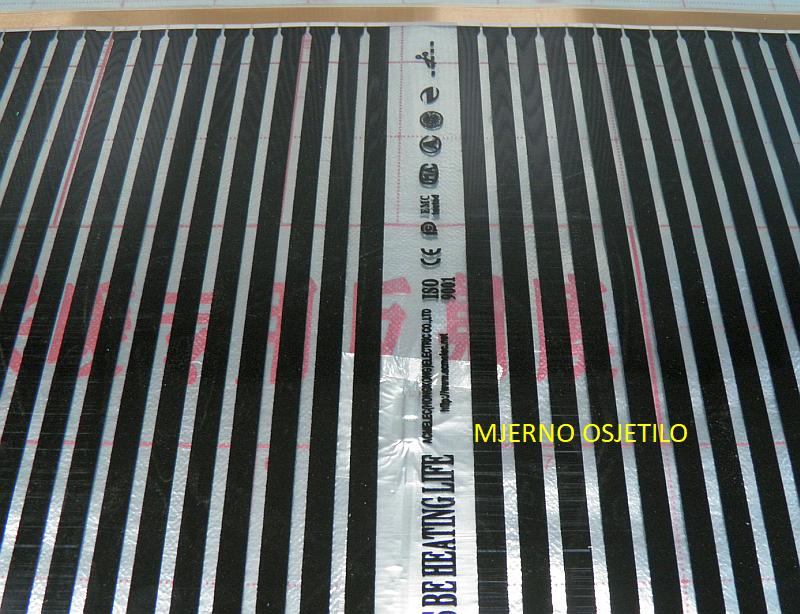
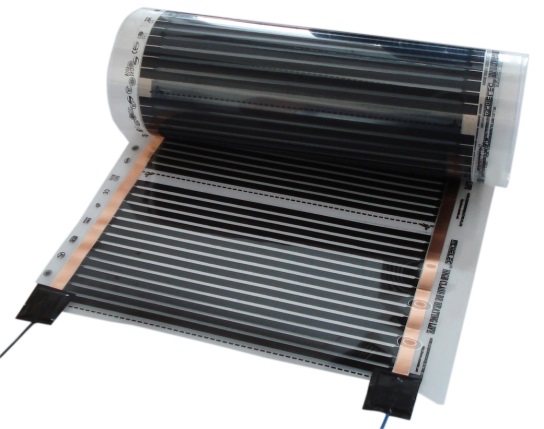
If the final layer of the floor is laminate, heating films are installed. Their installation also results in direct heating with a warm-up time of approx. 1 hour.
Installation procedures for electric underfloor heating
Installation of heating cables
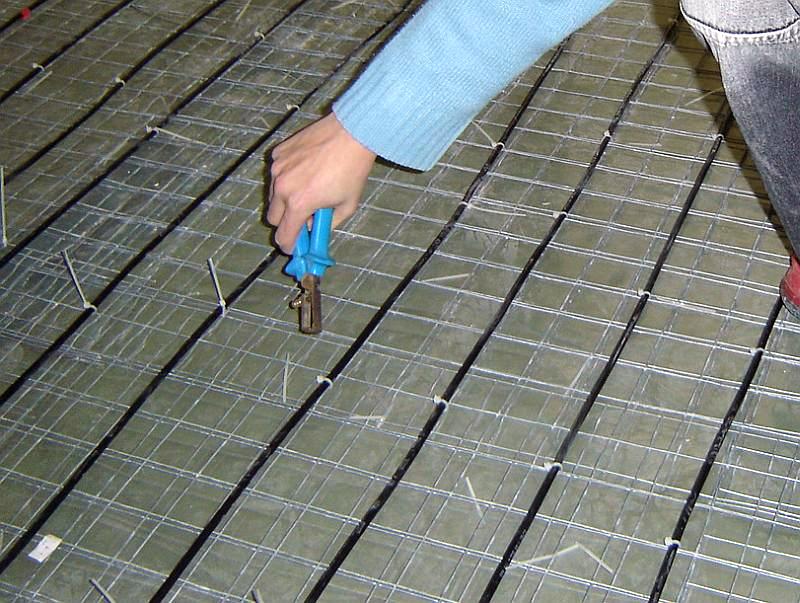
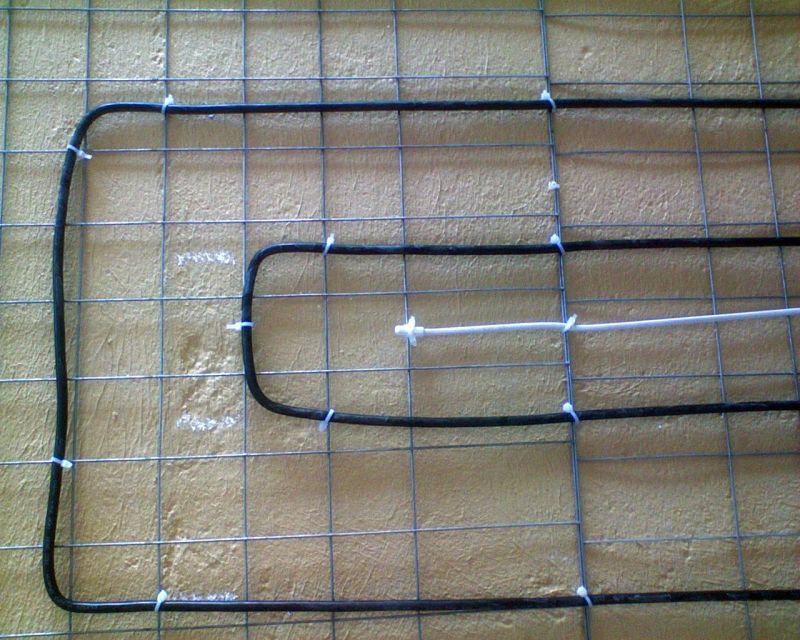
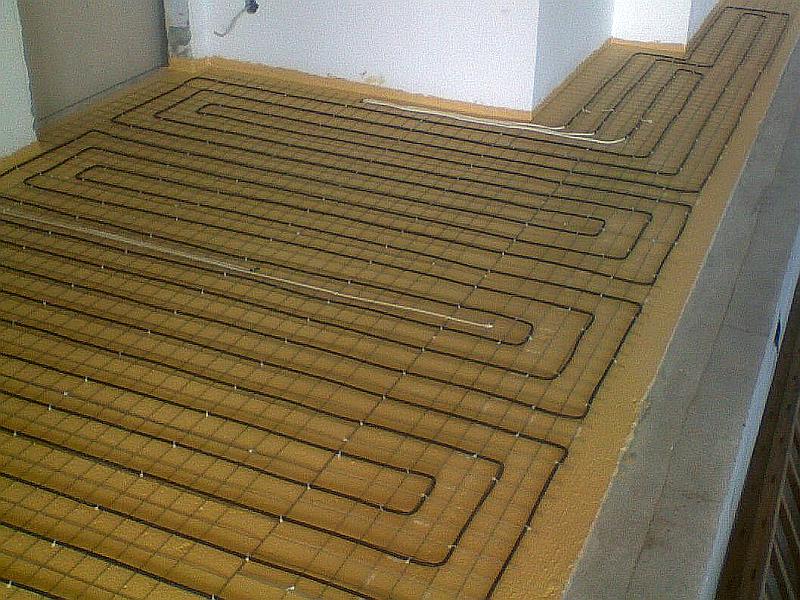
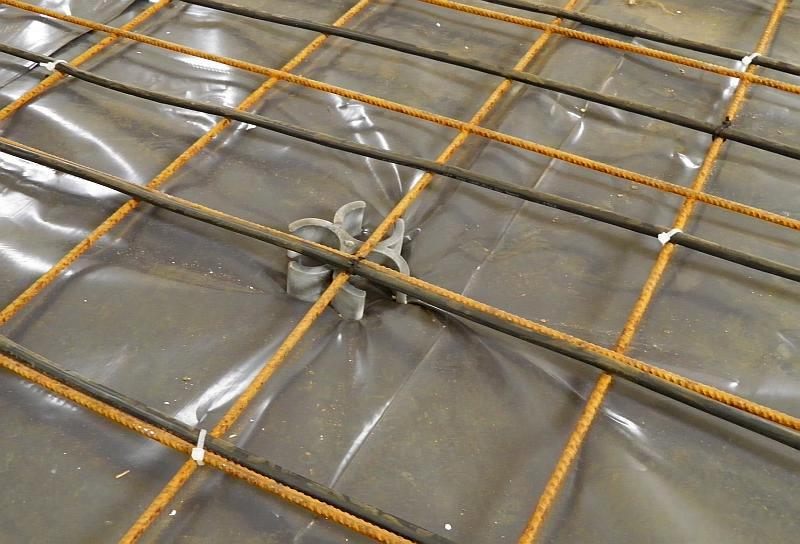
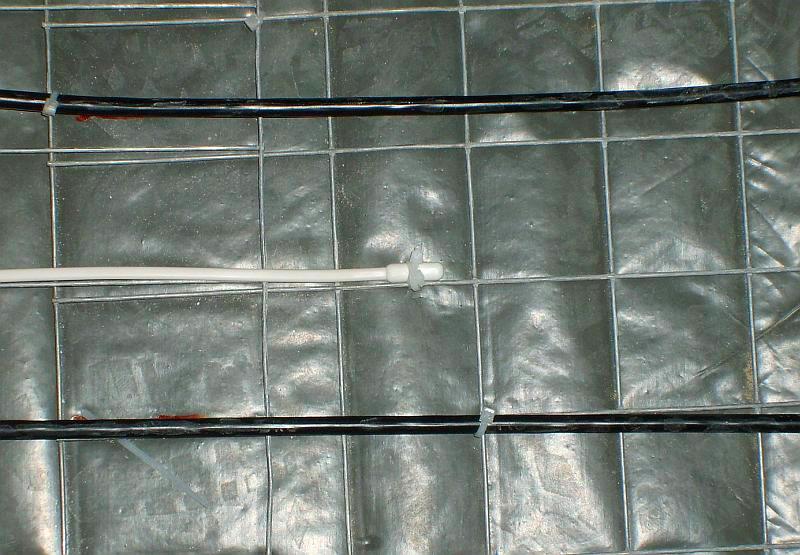
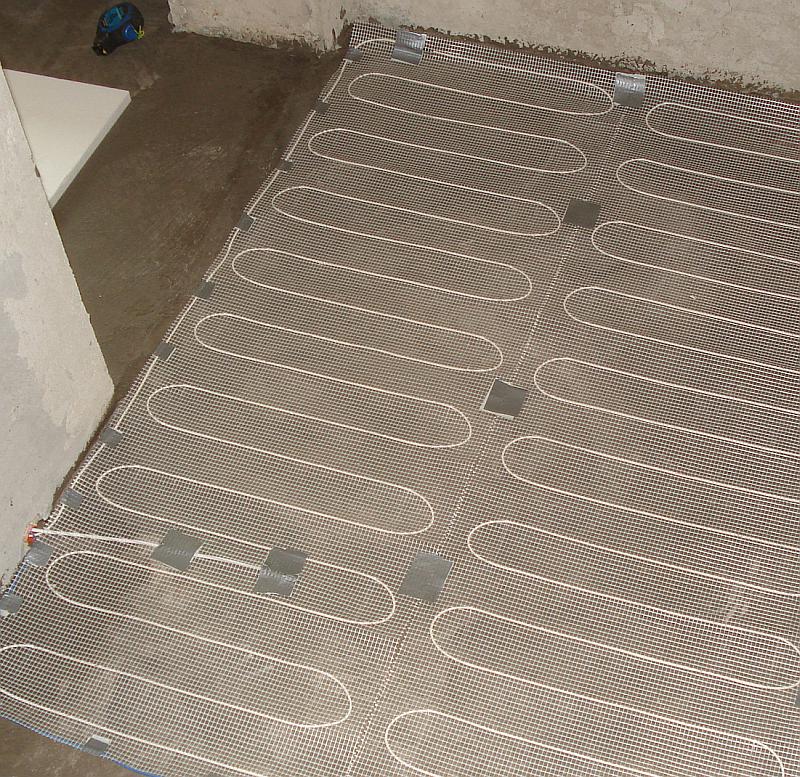
Tying heating cables, with PVC ties, to the reinforcing mesh installed in cement screed is the most common method of installation. Another option is tying the heating cables, with PVC ties, on a mounting tape fixed to the concrete base. The third and simplest variant is to place ready-made heating tracks, type GT, on a previously prepared substrate. In all these cases, some basic and common principles of installation should be followed:
- install heating cables only according to a pre-drawn plan
- only install on well-installed mounting straps and interconnected reinforcing mesh
- after laying the heating cables, and before making the cement screed, prohibit and prevent unnecessary trampling and any transport over them
- immediately after laying the heating cables, as well as after making the cement screed, perform measurements of working and insulation resistance and enter the results in the measurement report
- warn all participants in the construction of the floor, and especially construction workers, that the end result depends most on the timely (as soon as possible) and correct (without damaging the heating cables) installation of cement screed
In addition, when installing heating cables (and this also applies to other heating elements), a pipe for subsequent installation should be left between them or the floor temperature sensor should be installed immediately.

Installation of thin heating mats
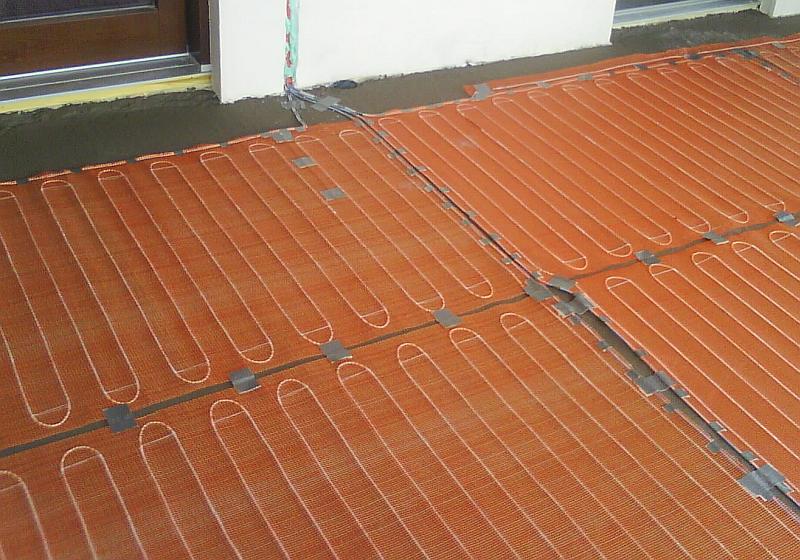
Due to the reconstruction of existing objects and subsequent decisions on the installation of electric heating in bathrooms and kitchens, practice shows that the installation of thin heating mats is the most common way of realizing underfloor heating.
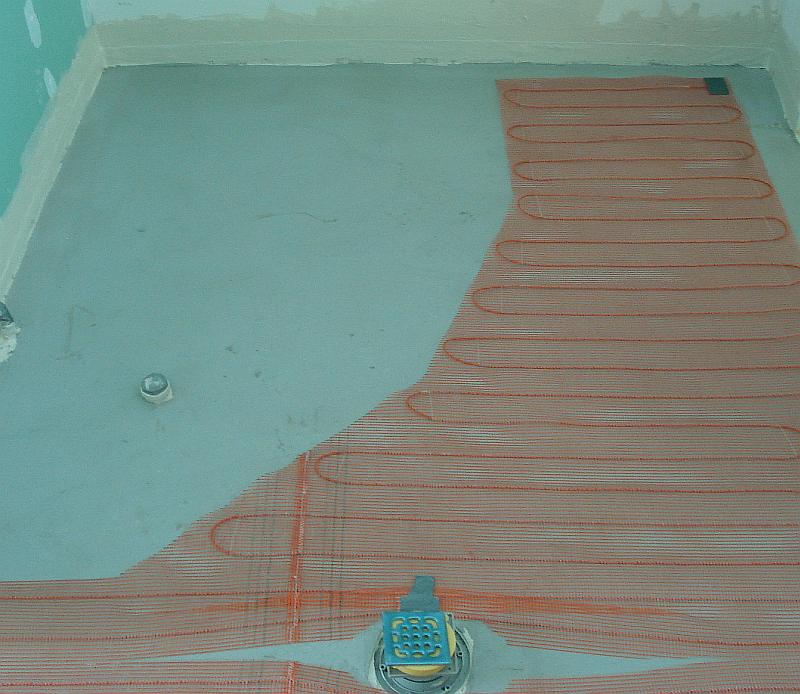
Thin heating mats are installed in a flexible construction adhesive or self-leveling compound. Installation begins by placing a thin heating net the substrate, which is usually reinforced cement screed, under which there is a minimum of 2 cm thick thermal insulation of high density polystyrene (30 kg/m³ or more), polyurethane, hard pressed stone wool or some other quality thermal insulation. In reconstructions, the base can be an old floor with ceramic or terrazzo tiles, and much less often the base is a wooden floor or various types of gypsum and hard thermal insulation boards. The final layer of such floors are most often ceramic tiles and stone. Carpets, wood and synthetic coverings, due to their poor thermal conductivity – are rarely used.
The installation procedure depends on the type of substrate and the available materials, but some principles are common in all variants:
- the substrate must be clean, free of grease, sharp debris and dust
- heating mats should be laid according to the previously prepared laying plan
- it is preferable that the side of the net with the heaters is facing downwards, as this makes it easier to apply the adhesive with a notched trowel
- the connecting cables (“cold ends”) of the heating cables must not intersect with the heating cables on the mat, and for thickenings caused by the connection of the heating and connecting cable, due to the appearance of a bundle of connecting cables from several heating mats, make a groove in the substrate and thus avoid increasing the thickness of the adhesive layer
- checking the correctness of heating networks by measuring their electrical resistance and insulation resistance are mandatory procedures before and after laying the tiles
- careful handling of all materials, devices and tools to avoid accidental damage to the heater insulation
- compliance with all recommendations of the manufacturer of adhesives and other building materials
- heating mats should not be turned on for at least two weeks after laying the tiles
As with the installation of heating cables, here, already in the installation phase of the heating mats, the pipe for subsequent installation should be left or the floor temperature sensor installed immediately.
Recommendations for the ceramic part of the work are especially difficult to give, because the work styles are different and are not dictated only by the substrate and available materials, but also by the work habits of the ceramicists themselves. Nevertheless, there are three basic modes of operation:
1st way
- lift the part of the heating mat and apply glue to the substrate with a notched trowel
- lower and press the heating mat
- apply a new coat of glue with a flat trowel
- immediately place the tiles on the glue prepared in this way
2nd way
- using a flat part of the trowel, press the glue, 5 – 6 mm thick, over the heating mat
- immediately place the tiles on the glue prepared in this way
3rd way
- using a flat part of a trowel, over the heating mat, press the glue so that it covers it
- allow the glue to dry
- the next day apply a new layer of glue and immediately lay the tiles

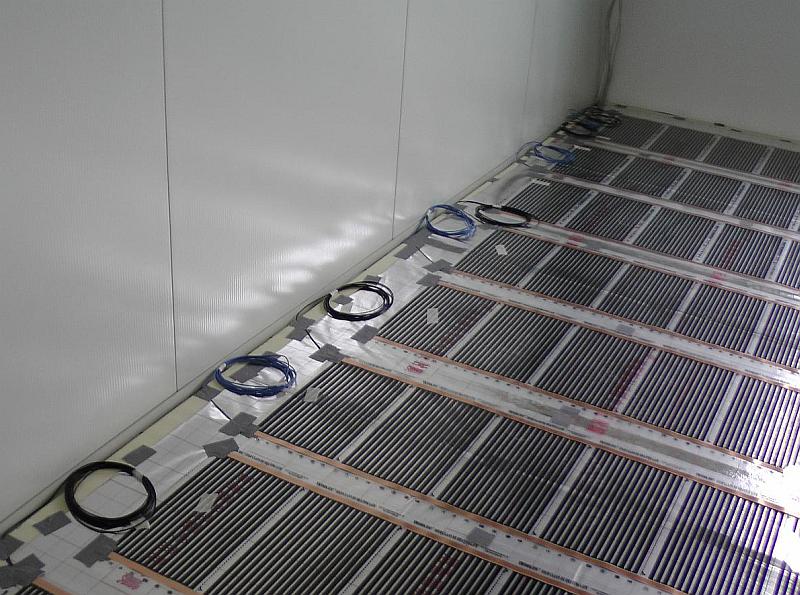
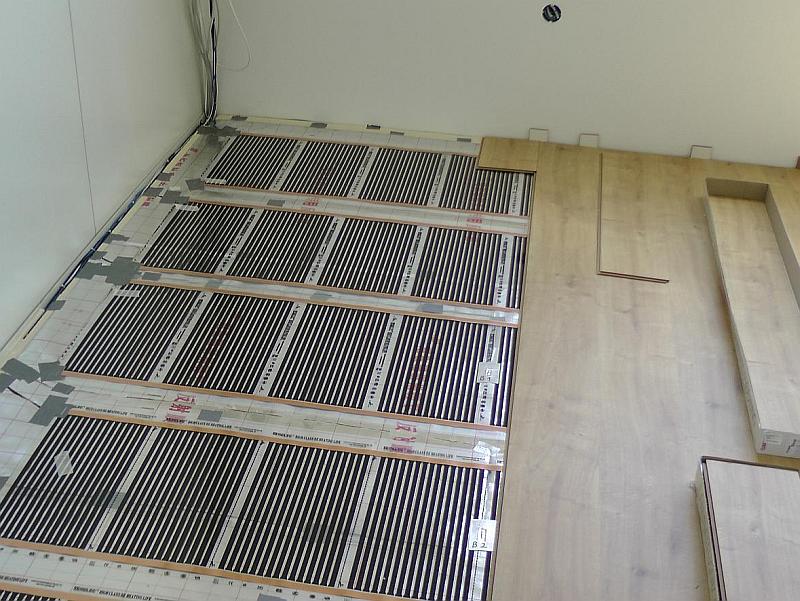
Installation of heating films
Heating films are installed under the laminate and in that way a very efficient, direct electric underfloor heating is realized.
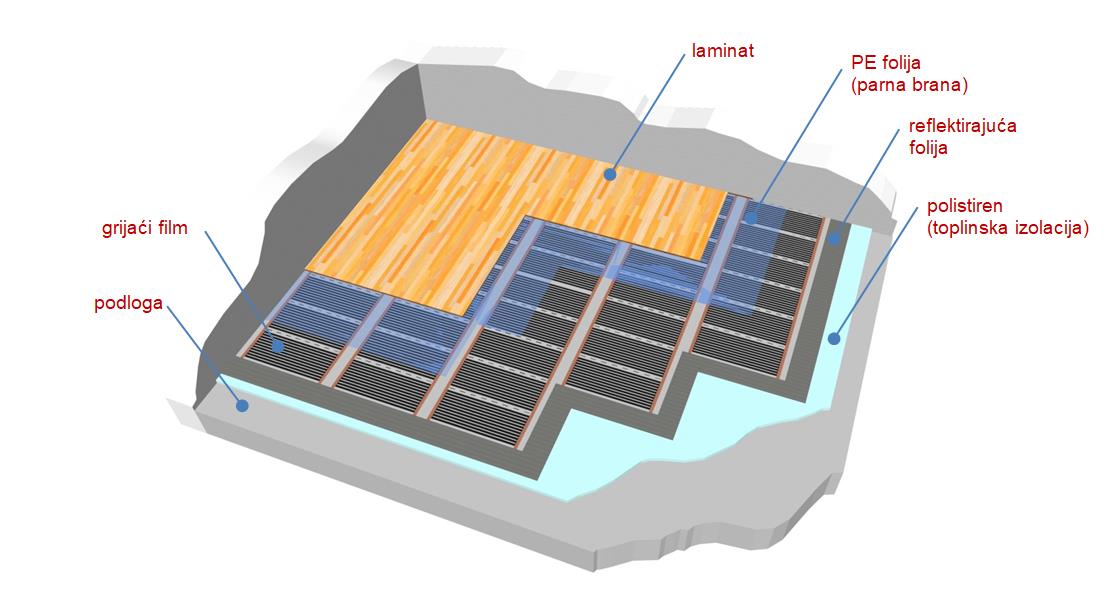
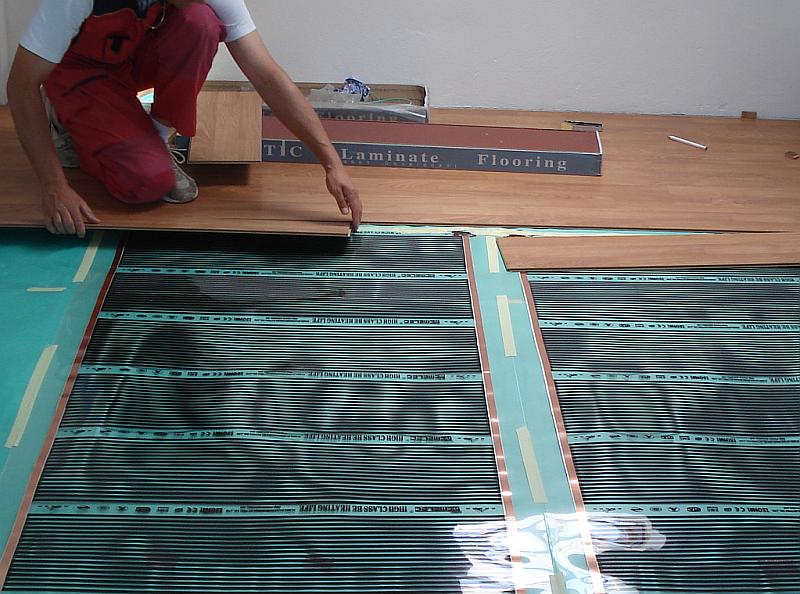
Installation starts from the base, which is usually a reinforced concrete slab and cement screed. When reconstructing, the base can also be an old floor with parquet, wooden floor or various types of gypsum boards, ceramic tiles, etc. It is necessary to place a layer of thermal insulation on the base (eg polystyrene with a specific density of 30 kg/m³ and more). The thickness of the thermal insulation mainly depends on the available height between the substrate and the door and is preferably not less than 20 mm. It is a good idea to place a reflective foil on the thermal insulation in order to direct as much heat as possible towards the floor surface. The heating film is placed according to the laying plan that comes along with the delivered film. On top of the film is placed PE foil (“nylon”) which serves as a vapor barrier and mechanical protection when laying laminate. The laminate is the final layer and is laid in accordance with the laminate manufacturer’s recommendations.
Installation procedure:
- thermal insulation is placed on the substrate
- the surface must be cleaned of stones, sharp debris and dust before installing the heating films during installation,
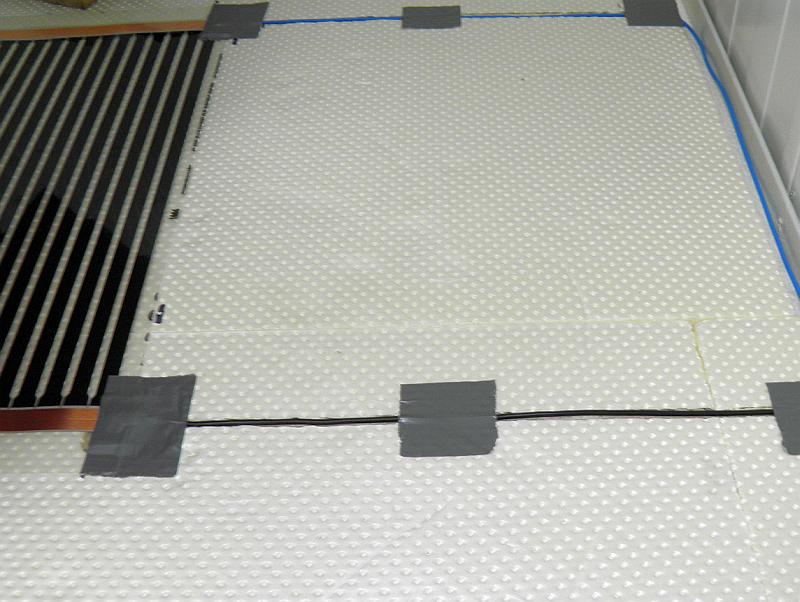
- the films are positioned and fixed to the substrate with self-adhesive tape
- the connecting conductors of the heating films should be placed in the slots made in the thermal insulation, so as not to create unevenness and to come into contact with the hot parts of the heating films
- the person installing the heating films must wear soft shoes, so that no damage occurs when walking on the films
- the temperature sensor should be placed in the groove under the heating film so that it touches the film between its heating segments
- power supply of heating films must be realized via current protection switch (RCD) with operating current of 30 mA


Control of electric floor heating
Electric floor heaters are controlled and regulated by electronic thermostats with semiconductor measuring sensors. These are most often thermostats for installation in a wall mounting box (Φ 60 x 40 mm). In public spaces (hotel rooms, hotel bathrooms, receptions, corridors, swimming pools, wellness, toilets …), in order to avoid the possibility of unnecessary and unauthorized adjustment of the thermostat, thermostats are installed in electrical control boxes.
Simpler underfloor heating and underfloor heating of public spaces
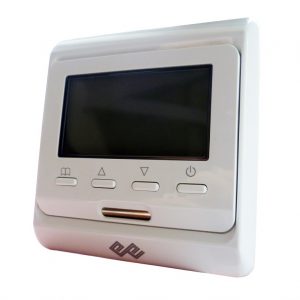
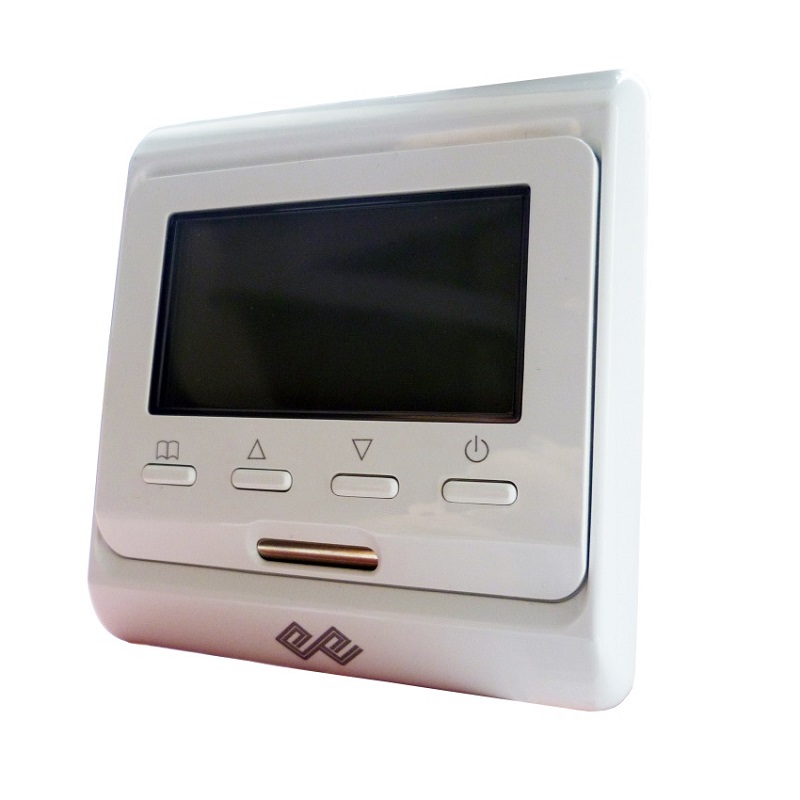
For simpler underfloor heating, which usually has only one heating cable or a thin heating mat (for bathrooms, kitchens, toilets), less power (2 to 3 kW) and where you want to have the cheapest and simplest control – most often used thermostats with floor temperature control only. In our offer it is a thermostat with a switch and a “wheel” for adjusting the temperature, type RTC70 / MT26.
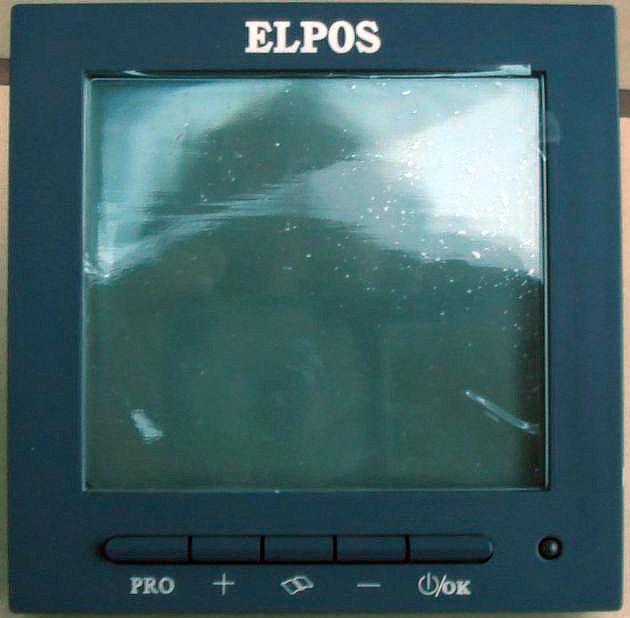
A thermostat type DT236 is used to control the underfloor heating of public spaces, regardless of their complexity and power, which can be switched on, off and the temperature changed only by authorized personnel.


More complex underfloor heating
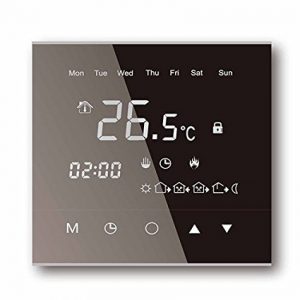
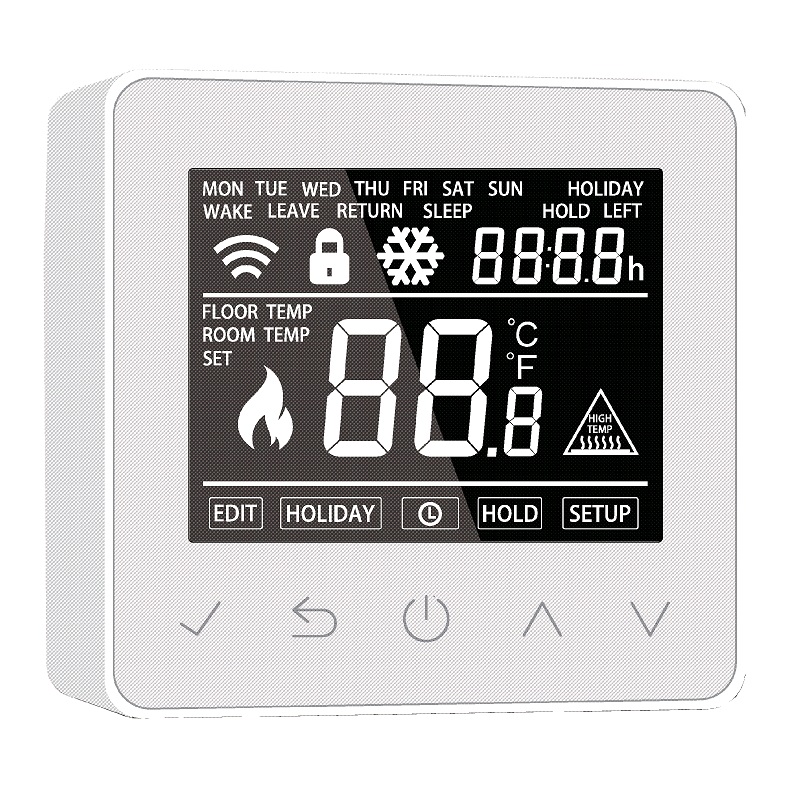
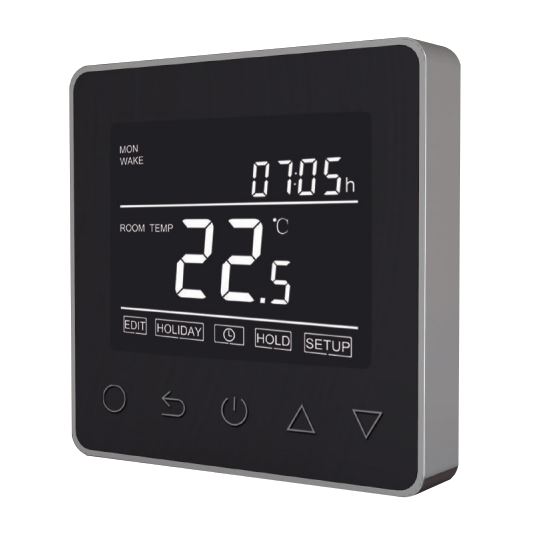
With stronger and more complex heating or heating where we want to have a greater impact on their work, control is performed by both temperature and time. You can choose whether it will be air temperature or floor temperature (thermostats have 2 temperature sensors – room and floor). These are thermostats that provide greater comfort of use and greater economy of underfloor heating (E91/TT16, WarmLife, ST-16, S-603PE).
When you want to control underfloor heating from a remote position (eg heating control in the cottage, from home or from the car – via mobile phone), the Wi-Fi thermostat ET-61W is used. Of course, the possibility of such control implies that the thermostat has a permanent WiFi connection to the Internet).
It should be noted here that with more powerful heating (stronger than 3 kW), realized with more heating cables, heating tracks, thin heating mats or heating films, it is not possible to connect all this in the thermostat installation box. Therefore, under the thermostat (approx. 300 mm from the floor) an additional installation box is installed in which all necessary connections are made, and added often an electromagnetic contactor (operated by the thermostat) is added over it which the heaters are switched on (when their power exceeds 3 kW).
How to solve underfloor heating?
When solving underfloor heating of indoor spaces, there are similarities with the solutions used for heating outdoor surfaces, but with one significant advantage – less power is required per unit of heated surface (from 90 to 160 W/m²). In “ELPOS” we have developed and for many years we have been supplying various products for the realization of electric floor heating. The choice of the appropriate product depends on a number of factors, such as: the current condition of the surface to be heated, the final floor layer, the complexity of the shape of the heated surface, the height of the section in which the heating equipment must fit, the degree of complexity and available installation time.
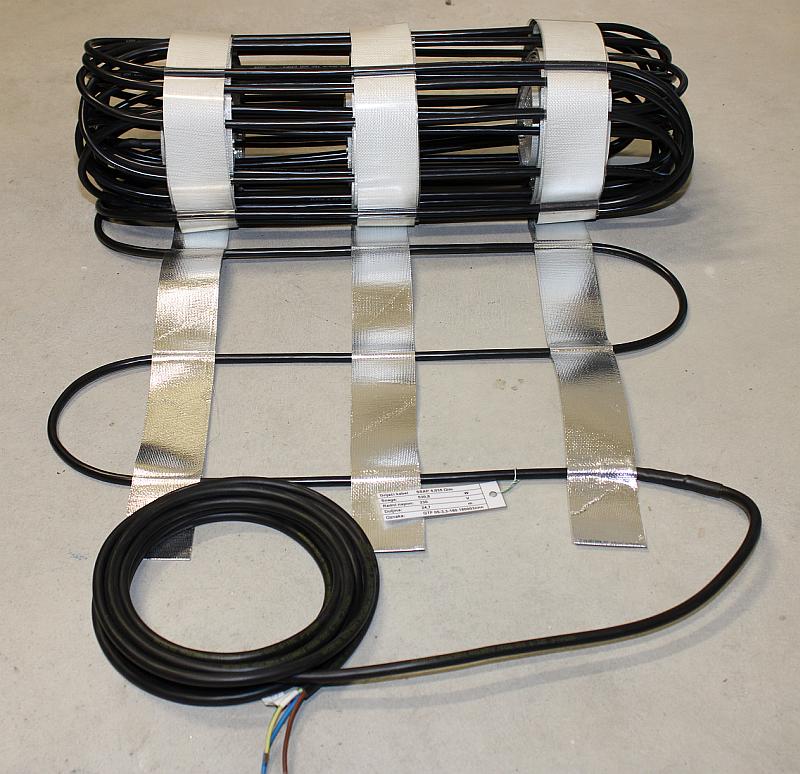
One of the most common ways of realizing underfloor heating, especially large buildings (churches, restaurants, receptions …) is the installation of heating cables by tying PVC ties to the reinforcing mesh or mounting strip. The good side of this method of installation is the robustness and durability of the heating cables, and complete adaptation to the shapes of the heated surface. The disadvantage of this method of installation is the need for timely planning (before making a cement screed floor), higher available height for installation, greater effort and longer time required for installation. The installation of prefabricated heating tracks on foil, type GTF, significantly simplifies and speeds up the installation, but reduces the possibility of adaptation to complex shapes of heated surfaces.
When the construction works have already advanced or direct floor heating is planned in advance, the only way to realize it is to install thin heating mats in a flexible construction adhesive, when laying ceramic tiles or stone. Some of our 149 standard thin heating networks should meet your needs, but if the shape of the heated surface is extremely complex, we will create just such a network.
For underfloor heating under the laminate, we will make appropriate heating films and a plan for their laying.
We leave the installation of heaters, heating tracks, thin heating mats and heating films to local installers to whom we submit installation plans and thus reduce investor costs to the lowest possible amount. What we need to select the equipment and make the installation plans is a drawing with the measurements of the floor to be heated, with the indicated position of the thermostat and fixed furniture.
What products do we offer?
- classic SSAP type electric resistive wire heating cables
- for installation in cement screed
- self regulating heating cables type SRF
- for installation in cement screed
- heating traces on foil type GTF
- power 160 W/m² for installation in cement screed
- thin heating mats tape TGMt
- power 90 W/m² for installation under tiles or stone (additional heating)
- power 120 W/m² for installation under tiles or stone (living rooms, bedrooms)
- power 160 W/m² for installation under tiles or stone (bathroom, kitchen)
- heating films type AE 705
- for installation under laminate
- thermostats with associated measuring sensors
- RTC70/MT26 for minor heating controlled by floor temperature
- DT236 for installation in an electrical control boxes
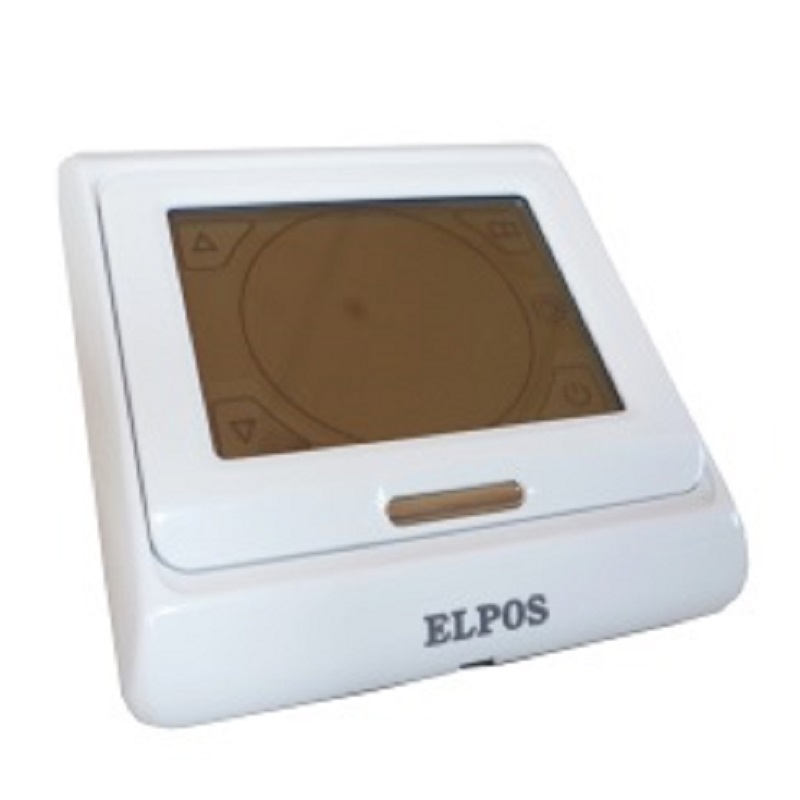
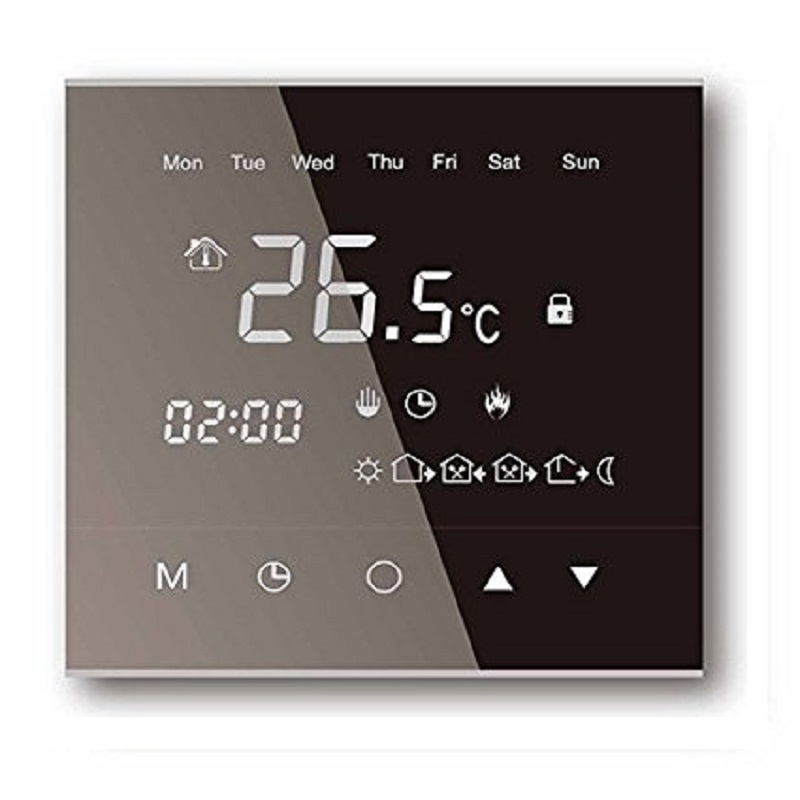
- E91/TT16 programmable thermostat with touch screen and temperature and time control
- WarmLife programmable thermostat with touch screen and temperature and time control
- ST-16 programmable thermostat with temperature and time control
- S-603PE programmable thermostat with large display and temperature and time control
- ET-61W WiFi thermostat adapted to control via mobile phone using WiFi network
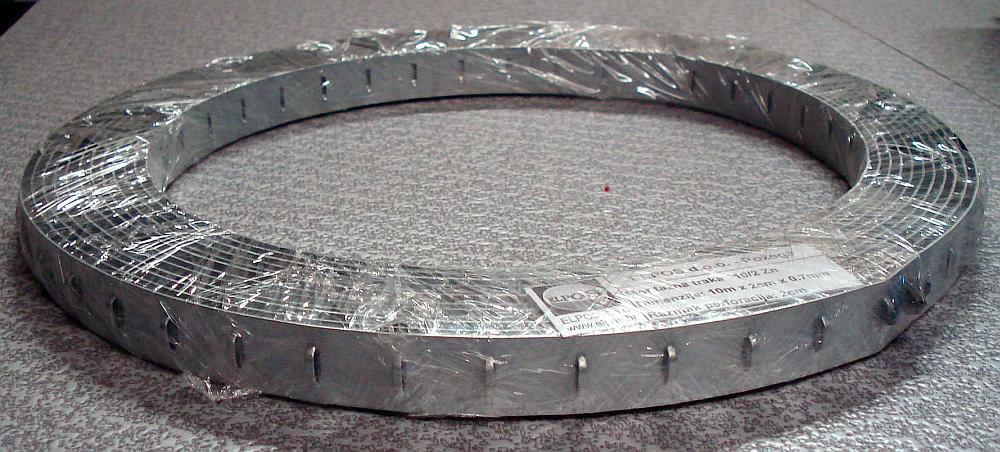
- mounting material
- mounting strips with a perforation “lugs” with a distance of 10 and 20 mm
Other information related to the topic of underfloor heating can be found in the following documents:
Underfloor heating – principles
Underfloor heating – installation of networks
Underfloor heating – installation of films
INQUIRY FORM with example for taking measures – underfloor heating
If you have questions related to electric underfloor heating, feel free to contact us.
Our professional team of certified engineers and thirty years of experience in the implementation of heating systems is at your service.